In this article, we will learn how to install OpenCV for Python on Windows and verify that it works correctly. The installation process includes checking prerequisites, installing OpenCV, and running a quick version check.
Prerequisites
- Python must be installed.
- pip (Python package manager) must be available (usually installed with Python).
Note: If you don’t have Python, refer to this article How to install Python on Windows.
Now let's see the step-by-step installation process.
Step by Step Process
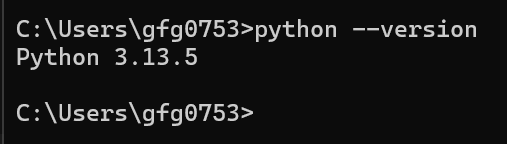
Step 1: Verify Python is installed
This step checks whether Python is installed and working on your system. Run the following command in Command Prompt (cmd):
python --version
If a version appears, Python is installed. If you get an error, install Python first.
Step 2: Verify pip is Installed
Now, we checks if pip is available, enter below command:
pip -V
If pip is not recognized, it must be installed or added to PATH.

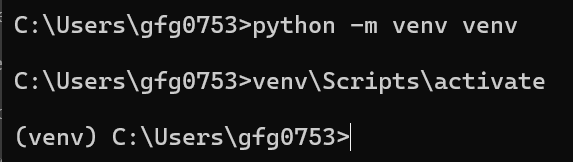
(Optional) Step 3: Create and Activate a Virtual Environment
This step creates a clean environment for your project. Run these commands in Command Prompt or PowerShell.
python -m venv venv
venv\Scripts\activate
A virtual environment helps avoid package conflicts. After activation (venv) appears in your terminal.
Step 4: Install OpenCV
Now to install the OpenCV package run below command in Command Prompt or inside the activated virtual environment.
pip install opencv-python
This downloads and installs OpenCV along with NumPy.

Step 5: Verify the Installation
Now to checks whether OpenCV installed correctly, we will run below command:
python -c "import cv2; print(cv2.__version__)"
If a version number prints, OpenCV is installed and ready to use.
