FastAPI is a modern, fast web framework for building APIs with Python 3.7+ based on standard Python-type hints. In this article, we'll walk through the process of installing FastAPI and creating a simple FastAPI server on a Windows system.
Pre-Requisite:
Install And Run Python Fastapi Server On Windows
Below is the step-by-step procedure by which we can install and run the FastAPI server on Windows in Python:
Step 1: Install FastAPI and Uvicorn
Open a command prompt or PowerShell window and use the following command to install FastAPI and Uvicorn:
pip install fastapi uvicorn
This command installs the FastAPI framework along with Uvicorn, a lightweight ASGI server.
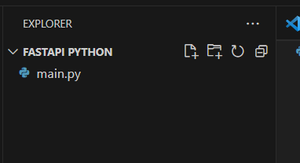
Step 2: File Structure
Step 3: Create a FastAPI App
Create a new file, for example, main.py, and open it with your preferred code editor. This simple FastAPI application defines an instance of the FastAPI class and a single route that responds to HTTP GET requests at the root path ("/") with a JSON response.
from fastapi import FastAPI

app = FastAPI()

@app.get("/")
def read_root():
    return {"Hello": "World"}
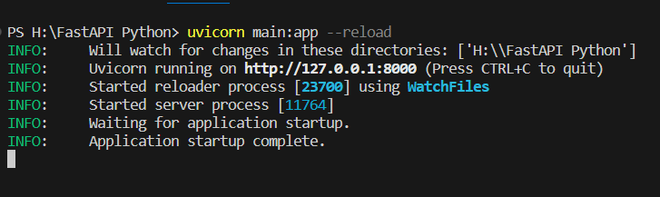
Step 4: Run the FastAPI Server
Open a command prompt or PowerShell window and navigate to the directory where your main.py file is located. Use the following command to start the FastAPI server:
uvicorn main:app --reloadThis command tells Uvicorn to run the FastAPI application in the main module (from main.py) and use the app instance. The --reload option enables automatic reloading of the server when code changes are detected.
Step 5: Access the FastAPI Application
Once the server is running, open your web browser and navigate to
http://127.0.0.1:8000/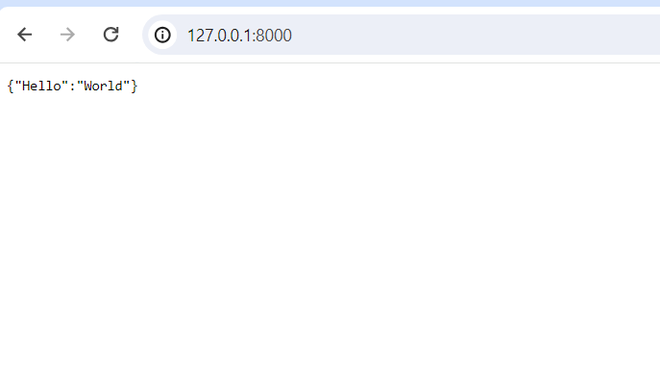
Congratulations! You have successfully installed FastAPI, created a simple FastAPI application, and run it on your Windows machine. You can now build upon this foundation to create more complex APIs using FastAPI's features and capabilities.