Masking is a technique used to extract specific colours or regions from an image or video. OpenCV performs masking using cv2.inRange() which selects pixels within a defined color range. To improve accuracy, frames are often smoothed with cv2.blur() before masking to reduce noise. This approach works for both images and live video.
Function Used in Masking
1. cv2.inRange(): This function creates a binary mask by selecting pixels that fall within a specified color range.
cv2.inRange(src, lowerb, upperb)
Parameters:
- src: Input image (usually blurred frame)
- lowerb: Lower bound of color range (NumPy array)
- upperb: Upper bound of color range (NumPy array)
Returns: A binary mask where selected pixels are white and others are black.
2. cv2.blur(): This function smooths the image by averaging pixel values within a kernel window to reduce noise.
cv2.blur(src, ksize)
Parameters:
- src: Input image
- ksize: Kernel size (tuple, e.g., (5,5)) used for smoothing
Returns: A blurred/smoothed version of the image.
Colour Masking a Video
In video masking, each frame from the webcam is processed continuously. A color range is defined using lower and upper bounds. Pixels within this range are extracted and shown as white in the mask, while all others appear black.
import cv2 as cv
import numpy as np

camera = cv.VideoCapture(0)
lower = np.array([0, 0, 0])
upper = np.array([60, 60, 60])

while True:
    _, img = camera.read()

    blur = cv.blur(img, (4, 4))
    mask = cv.inRange(blur, lower, upper)

    cv.imshow("Frame", img)
    cv.imshow("Mask", mask)

    if cv.waitKey(1) == 27:
        camera.release()
        break

cv.destroyAllWindows()
Input: Shows the live webcam feed

Output: Displays only the pixels falling in the black color range

Explanation:
- cv.VideoCapture(0) opens the webcam to read frames continuously.
- lower and upper define the black color range in BGR format.
- cv.blur(img, (4,4)) smooths the frame to reduce noise before masking.
- cv.inRange(blur, lower, upper) converts pixels within the range to white and others to black.
- The result is shown using cv.imshow() in real time.
- Pressing Esc stops the loop and releases the camera.
Colour Masking an Image
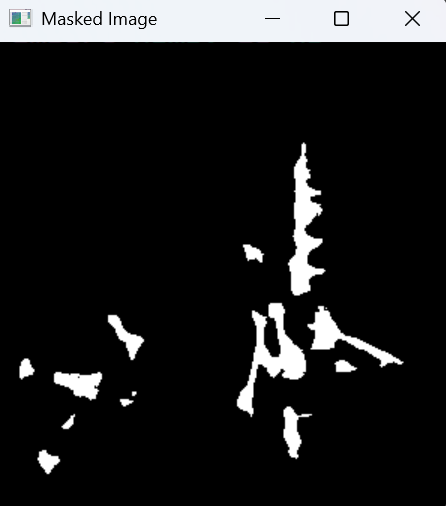
Masking on images follows the same principle, except a single image is processed instead of continuous frames. Masked Image shows only the black-colored regions extracted from the image
import cv2 as cv
import numpy as np

lower = np.array([0, 0, 0])
upper = np.array([50, 50, 50])

img = cv.imread("sample.jpg")

blur = cv.blur(img, (8, 8))
mask = cv.inRange(blur, lower, upper)

cv.imshow("Original Image", img)
cv.imshow("Masked Image", mask)

cv.waitKey(0)
cv.destroyAllWindows()
Output:

Explanation:
- cv.imread("sample.jpg") loads the image from disk.
- lower and upper define the black color limits for masking.
- cv.blur(img, (8,8)) smooths the image to improve mask accuracy.
- cv.inRange(blur, lower, upper) creates a binary mask where black pixels become white.
- cv.imshow() displays both the original and masked outputs.
- cv.waitKey(0) waits for a key press before closing the windows.