A Label is a widget used in Kivy to display text on the screen. It can render both ASCII and Unicode strings, allowing you to show titles, messages, and instructions in your GUI.
Example: This example creates a minimal Kivy app that displays a single label.
import kivy
from kivy.app import App
from kivy.uix.label import Label

kivy.require('1.11.1')

class A(App):
    def build(self):
        return Label(text='Hello Kivy')

A().run()
Output

Explanation:
- class A(App) define the app class (inherits App).
- build() returns the widget to display (a Label with text).
- A().run() create and run the app; Kivy opens a window and shows the label.
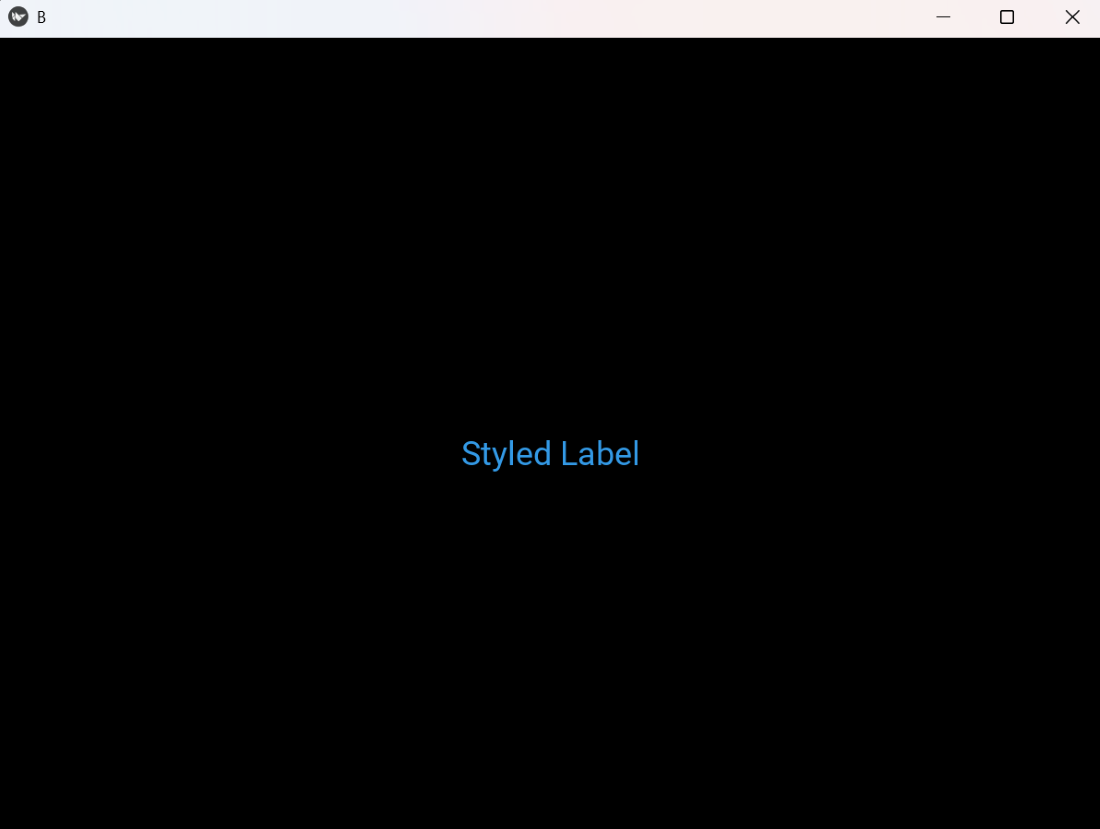
Styled Label
A styled label allows you to modify the appearance of text by changing its font size, color and other properties. It helps make the text more readable and visually appealing.
Example: This example shows how to change font size and text color.
import kivy
from kivy.app import App
from kivy.uix.label import Label

kivy.require('1.11.1')

class B(App):
    def build(self):
        return Label(text='Styled Label', font_size='24sp', color=(0.2, 0.6, 0.9, 1))

B().run()
Output
Explanation:
- font_size='24sp': increases the label text size (use sp for scalable units).
- color=(r,g,b,a): RGBA tuple with values from 0 to 1; here it makes the text bluish.
- The Label is centered by default in a bare app window.
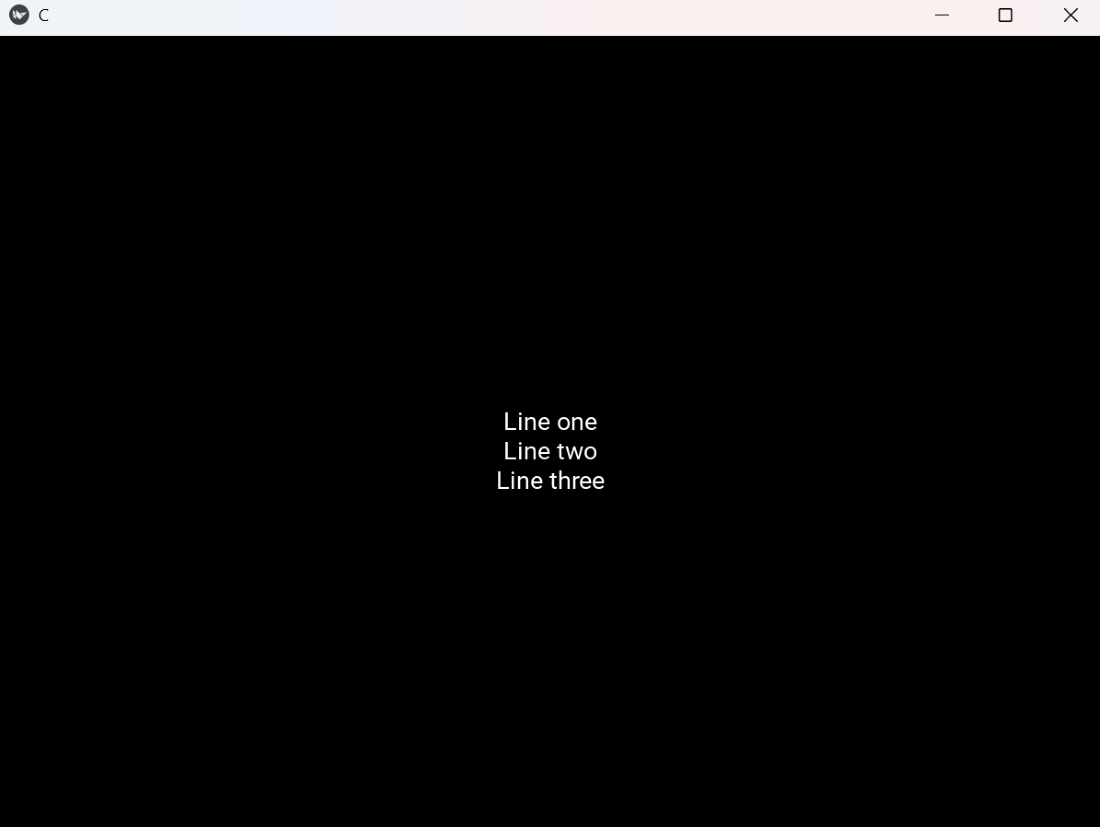
Multiline and Alignment
When you need to display multiple lines of text, you can use newline characters (\n) in combination with alignment options. Kivy’s label supports both horizontal and vertical alignment for well-structured text.
Example: This example demonstrates multiline text and horizontal alignment.
import kivy
from kivy.app import App
from kivy.uix.label import Label

kivy.require('1.11.1')

class C(App):
    def build(self):
        return Label(
            text='Line one\nLine two\nLine three',
            font_size='18sp',
            halign='center',
            valign='middle',
            text_size=(300, None)
        )

C().run()
Output
Explanation:
- text contains \n to create multiple lines.
- text_size=(300, None) gives the label a fixed wrapping width so halign can center lines.
- halign='center' centers text horizontally; valign='middle' centers vertically within the text_size area.
- font_size controls appearance.
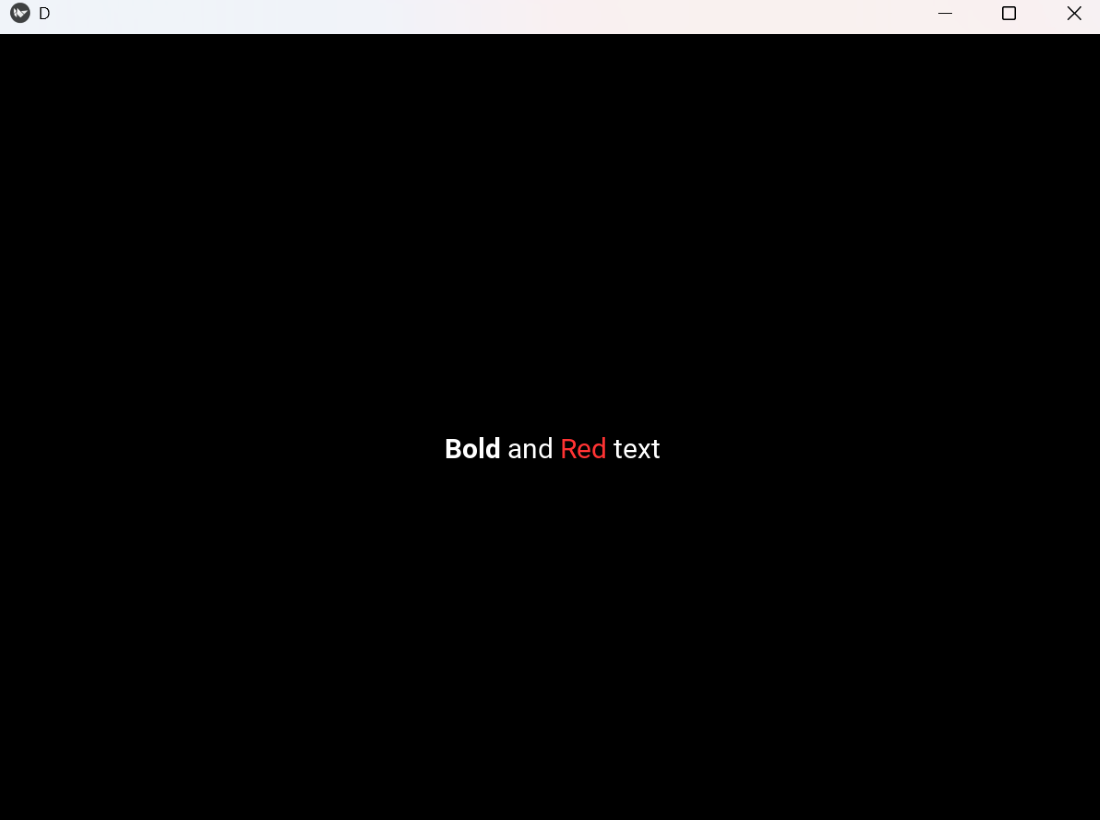
Markup Text
Markup allows you to style parts of the text within a label using BBCode-like tags. You can make text bold, colored, italic, underlined and more, without using multiple label widgets.
Example: This example enables Kivy markup to style parts of the label text.
import kivy
from kivy.app import App
from kivy.uix.label import Label

kivy.require('1.11.1')

class D(App):
    def build(self):
        return Label(
            text='[b]Bold[/b] and [color=ff3333]Red[/color] text',
            markup=True,
            font_size='20sp'
        )

D().run()
Output
Explanation:
- markup=True tells Kivy to parse BBCode-like tags.
- [b]...[/b] makes text bold; [color=RRGGBB]...[/color] sets text color (hex).
- font_size adjusts overall size.
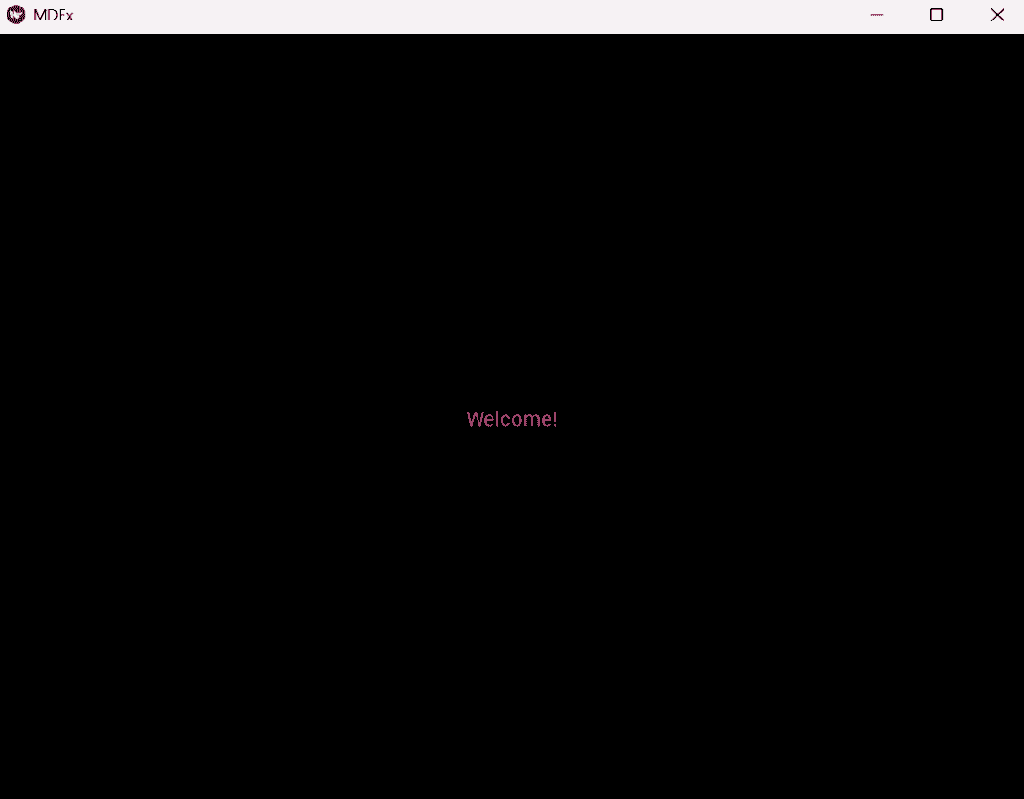
MDLabel (KivyMD)
MDLabel is part of the KivyMD library, which follows Google’s Material Design guidelines. It allows you to create labels with predefined styles, themes, and better visual consistency.
Before running the example, install the latest version of KivyMD library using following command:
pip install https://github.com/kivymd/KivyMD/archive/master.zip
Example: This code creates a window with a Material-styled label positioned at the center.
from kivymd.app import MDApp
from kivymd.uix.label import MDLabel
from kivymd.uix.screen import Screen

class MDEx(MDApp):
    def build(self):
        self.theme_cls.theme_style = "Light"
        self.theme_cls.primary_palette = "Blue"

        screen = Screen()

        label = MDLabel(
            text="Welcome!",
            pos_hint={"center_x": 0.5, "center_y": 0.5},
            theme_text_color="Custom",
            text_color=(0.9, 0.2, 0.5, 1),
            halign="center"
        )

        screen.add_widget(label)
        return screen

MDEx().run()
Output
Explanation:
- Screen() creates a layout container for Material Design widgets.
- MDLabel(...) creates a label with text, custom color, and alignment.
- pos_hint={'center_x': 0.5, 'center_y': 0.5} centers the label in the screen.
- theme_text_color='Custom' + text_color=(...) applies the custom RGBA color to the text.
- halign='center' ensures the text is horizontally centered.
- screen.add_widget(label) adds the label to the screen.
- return screen returns the screen to be displayed as the root widget.
- MDEx().run() creates and runs the application window.
Note: In the latest KivyMD versions, do not use font_style directly unless you check available font styles, as older styles like H5 or Body1 may cause KeyError.