Authentication is a key part of securing any web application. In Django REST Framework (DRF), Basic Authentication provides a simple way to verify users using their username and password. This method builds upon Django’s built-in authentication system, allowing APIs to restrict access and ensure only authorized users can interact with protected endpoints.
User Authentication System in Django
Step 1: Create the Django project and app
django-admin startproject core
cd core
python manage.py startapp authentication
File Structure:

Step 2: Register app name in Installed_Apps in settings.py file.
INSTALLED_APPS = [
"django.contrib.admin",
"django.contrib.auth",
"django.contrib.contenttypes",
"django.contrib.sessions",
"django.contrib.messages",
"django.contrib.staticfiles",
"authentication", // App name
]
Step 3: views.py
The views handle rendering templates and processing form data for login, registration, and the home page.
- home(request)
Renders the home.html template when users access the home page. - login_page(request)
Handles user login. On a POST request, it retrieves username and password from the form. It checks if the user exists; if not, it displays an error message and redirects back to the login page. - register_page(request)
Handles user registration. On a POST request, it retrieves first_name, last_name, username, and password from the form. It checks if the username is already taken; if so, it displays a message and redirects back to the registration page.
from django.shortcuts import render, redirect
from django.contrib import messages
from django.contrib.auth import authenticate, login
from django.contrib.auth.decorators import login_required
from django.contrib.auth.models import User
from .models import *

def home(request):
    return render(request, 'home.html')

def login_page(request):
    if request.method == "POST":
        username = request.POST.get('username')
        password = request.POST.get('password')

        # Check if a user with the provided username exists
        if not User.objects.filter(username=username).exists():
            # Display an error message if the username does not exist
            messages.error(request, 'Invalid Username')
            return redirect('/login/')

        user = authenticate(username=username, password=password)

        if user is None:
            # Display an error message if authentication fails (invalid password)
            messages.error(request, "Invalid Password")
            return redirect('/login/')
        else:
            login(request, user)
            return redirect('/home/')

    return render(request, 'login.html')

# Define a view function for the registration page
def register_page(request):
    if request.method == 'POST':
        first_name = request.POST.get('first_name')
        last_name = request.POST.get('last_name')
        username = request.POST.get('username')
        password = request.POST.get('password')

        # Check if a user with the provided username already exists
        user = User.objects.filter(username=username)

        if user.exists():
            # Display an information message if the username is taken
            messages.info(request, "Username already taken!")
            return redirect('/register/')

        # Create a new User object with the provided information
        user = User.objects.create_user(
            first_name=first_name,
            last_name=last_name,
            username=username
        )

        # Set the user's password and save the user object
        user.set_password(password)
        user.save()

        # Display an information message indicating successful account creation
        messages.info(request, "Account created Successfully!")
        return redirect('/register/')

    return render(request, 'register.html')
Step 4: models.py
- Import the models module from Django to create and manage database models.
- Import the User model from django.contrib.auth.models, which provides Django’s built-in authentication system for handling user data and permissions.
from django.db import models
from django.contrib.auth.models import User
Migrate models:
python manage.py makemigrations
python manage.py migrate
Create the superuser:
python manage.py createsuperuser
Step 5:urls.py
This file defines URL routes and connects them to views within the Django application.
- Imports required modules for URL routing, views, admin interface, and file handling.
- Defines URL patterns for the home, admin, login, and registration pages.
- Serves media and static files during development.
# Import required modules
from django.contrib import admin
from django.urls import path
from authentication.views import *
from django.conf import settings
from django.contrib.staticfiles.urls import staticfiles_urlpatterns
from django.conf.urls.static import static

# Define URL patterns
urlpatterns = [
    path('home/', home, name="home"),                 # Home page
    path("admin/", admin.site.urls),                  # Admin interface
    path('login/', login_page, name='login_page'),    # Login page
    path('register/', register_page, name='register'),# Registration page
]

# Serve media files in development mode
if settings.DEBUG:
    urlpatterns += static(settings.MEDIA_URL, document_root=settings.MEDIA_ROOT)

# Serve static files
urlpatterns += staticfiles_urlpatterns()
Update settings.py for Media and Static Files:
import os
STATIC_URL = '/static/'
STATIC_ROOT= os.path.join(BASE_DIR, 'staticfiles')
STATICFILES_DIR = {
os.path.join(BASE_DIR, 'public/static')
}
MEDIA_ROOT = os.path.join(BASE_DIR, 'public/static')
MEDIA_URL = '/media/'
Templates Folder
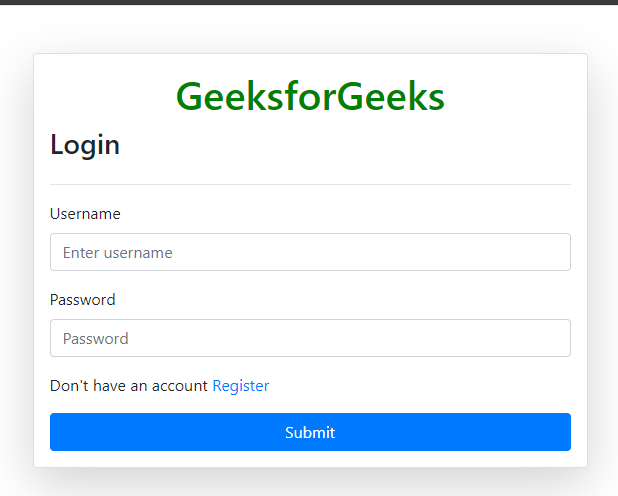
Step 6.1: login.html
Below template provides a login page for users. It uses Bootstrap 4.5.2 for styling and includes CSRF protection for security.
- The GeeksforGeeks title is centered and highlighted in green.
- CSRF token is included to prevent cross-site request forgery attacks.
- Displays error or success messages using Bootstrap alerts.
- Input fields for username and password, both required.
- Link to the registration page for new users.
- Submit button to log in.
<!DOCTYPE html>
<html lang="en">
<head>
    <meta charset="UTF-8">
    <meta name="viewport" content="width=device-width, initial-scale=1.0">
    <title>Login</title>
    <link href="https://maxcdn.bootstrapcdn.com/bootstrap/4.5.2/css/bootstrap.min.css" rel="stylesheet">
</head>
<body>
    <div class="container mt-5">
        <!-- Login form -->
        <form class="col-6 mx-auto card p-3 shadow-lg" method="post" enctype="multipart/form-data">
            <h1 style="text-align: center;"><span style="color: green;">GeeksforGeeks</span></h1>

            {% csrf_token %}  <!-- CSRF token for security -->

            <!-- Login heading -->
            <h3>Login</h3>
            <hr>

            <!-- Display error/success messages -->
            {% if messages %}
            <div class="alert alert-primary" role="alert">
                {% for message in messages %}
                {{ message }}
                {% endfor %}
            </div>
            {% endif %}

            <!-- Username input field -->
            <div class="form-group">
                <label for="exampleInputEmail1">Username</label>
                <input type="text" class="form-control" name="username" id="exampleInputEmail1" aria-describedby="emailHelp"
                    placeholder="Enter username" required>
            </div>

            <!-- Password input field -->
            <div class="form-group">
                <label for="exampleInputPassword1">Password</label>
                <input type="password" name="password" class="form-control" id="exampleInputPassword1" placeholder="Password" required>
            </div>

            <!-- Link to registration page -->
            <p>Don't have an account <a href="/register/">Register</a> </p>

            <!-- Submit button -->
            <button type="submit" class="btn btn-primary">Submit</button>
        </form>
    </div>
</body>
</html>
Output:
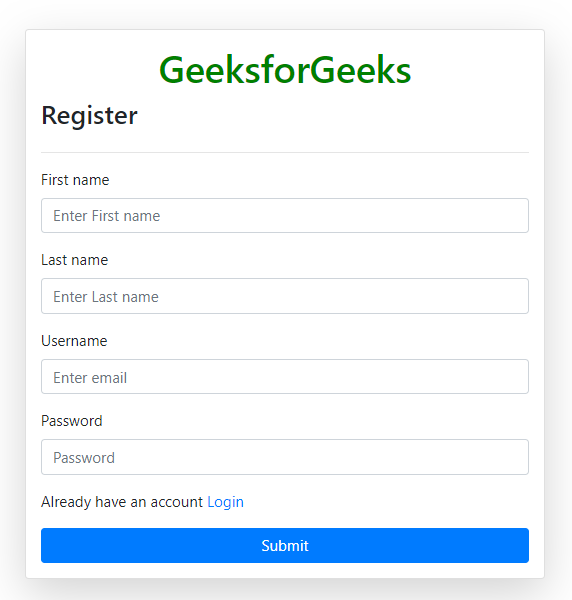
Step 6.2: register.html
This template provides a registration form for new users. It uses Bootstrap 4.5.2 for styling and includes CSRF protection for security.
- CSRF token is included to prevent cross-site request forgery attacks.
- Displays error or success messages using Bootstrap alerts.
- Input fields for first name, last name, username, and password (all required).
- Link to the login page for users who already have an account.
- Submit button to register a new user.
<!DOCTYPE html>
<html lang="en">
<head>
    <meta charset="UTF-8">
    <meta name="viewport" content="width=device-width, initial-scale=1.0">
    <link href="https://maxcdn.bootstrapcdn.com/bootstrap/4.5.2/css/bootstrap.min.css" rel="stylesheet">
    <title>Registration Form</title>
</head>
<body>
    <div class="container mt-5">
        <!-- Registration form -->
        <form class="col-6 mx-auto card p-3 shadow-lg" method="post" enctype="multipart/form-data">
            {% csrf_token %}  <!-- CSRF token for security -->

            <!-- Registration form heading -->
            <h1 style="text-align: center;"><span style="color: green;">GeeksforGeeks</span></h1>
            <h3>Register</h3>
            <hr>

            <!-- Display error/success messages -->
            {% if messages %}
            <div class="alert alert-primary" role="alert">
                {% for message in messages %}
                {{ message }}
                {% endfor %}
            </div>
            {% endif %}

            <!-- First Name input field -->
            <div class="form-group">
                <label for="exampleInputEmail1">First name</label>
                <input type="text" class="form-control" id="exampleInputEmail1" aria-describedby="emailHelp"
                    placeholder="Enter First name" name="first_name" required>
            </div>

            <!-- Last Name input field -->
            <div class="form-group">
                <label for="exampleInputEmail1">Last name</label>
                <input type="text" name="last_name" class="form-control" id="exampleInputEmail1"
                    aria-describedby="emailHelp" placeholder="Enter Last name" required>
            </div>

            <!-- Username input field -->
            <div class="form-group">
                <label for="exampleInputEmail1">Username</label>
                <input type="text" class="form-control" name="username" id="exampleInputEmail1"
                    aria-describedby="emailHelp" placeholder="Enter email" required>
            </div>

            <!-- Password input field -->
            <div class="form-group">
                <label for="exampleInputPassword1">Password</label>
                <input type="password" class="form-control" name="password" id="exampleInputPassword1"
                    placeholder="Password" required>
            </div>

            <!-- Link to login page for users who already have an account -->
            <p>Already have an account <a href="/login/">Login</a> </p>

            <!-- Submit button -->
            <button type="submit" class="btn btn-primary">Submit</button>
        </form>
    </div>
</body>
</html>
Output:
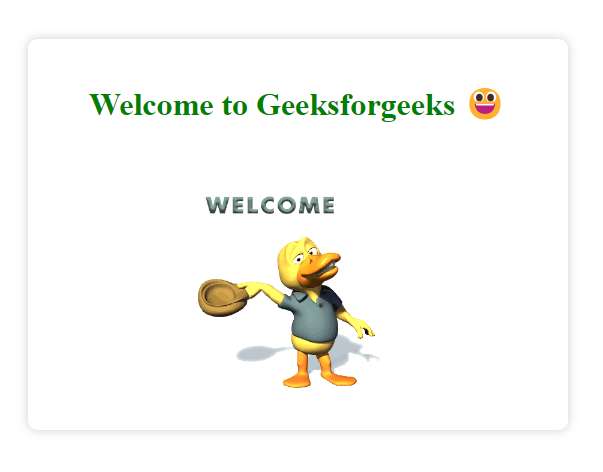
Step 6.3: home.html
This template displays a welcoming page for users. It includes a heading and an animated GIF for a friendly user experience.
- Page title styled in green using inline CSS.
- .container class centers content and adds a white background with a subtle shadow.
- h1 tag styles the heading in green and bold.
- img tag displays an animated GIF at 60% width.
- The page content is contained within a centered container for a clean layout.
<!DOCTYPE html>
<html lang="en">
<head>
    <meta charset="UTF-8">
    <meta name="viewport" content="width=device-width, initial-scale=1.0">
    <title style="color: green;">Welcome to Geeksforgeeks ????</title>
    <style>
        .container {
            text-align: center;
            margin: 100px auto;
            max-width: 500px;
            padding: 20px;
            background-color: #fff;
            border-radius: 10px;
            box-shadow: 0 0 10px rgba(0, 0, 0, 0.2);
        }

        h1 {
            color: green;
            font-weight: bold;
        }

        img {
            width: 60%;
        }
    </style>
</head>
<body>
    <div class="container">
        <!-- Page heading -->
        <h1>Welcome to Geeksforgeeks </h1>

        <!-- Animated GIF -->
        <!-- Use "welcome.gif" as the source for the GIF -->
        <img src="https://i.ibb.co/RNB6jpM/welcome.gif" alt="Welcome Cartoon">
    </div>
</body>
</html>
Output:
Step 7: Run the Development Server
Start the Django development server to test the authentication system and templates:
- Opens the project on http://127.0.0.1:8000/ or http://localhost:8000/.
- Test the login page at /login/.
- Test the registration page at /register/.
- After login or registration, you will be redirected to the home page displaying the welcome message and GIF.