React is a powerful JavaScript library for building fast, scalable front-end applications. Created by Facebook, it's known for its component-based structure, single-page applications (SPAs), and virtual DOM, enabling efficient UI updates and a seamless user experience.
- Administrator Access Needed to install Node.js and npm since they modify system files and environment variables.
- Stable Internet Connection Required to download Node.js and fetch React dependencies during setup.
- Proper Permissions Ensure you are using an admin account to avoid permission-related installation errors.
Follow these Steps to Install React.js and Create a React App on Windows 10/11:
[Step 1]: Install Node.js
React relies on Node.js and its package manager, npm, to manage dependencies. To install React, start by installing Node.js, which includes npm (Node Package Manager).
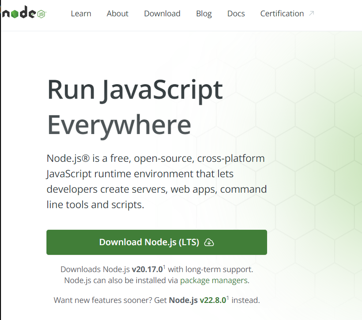
- Visit the official Node.js website.
- Download the LTS (Long Term Support) version for Windows. This version is stable and recommended for most users.
Note: Node.js is a free, open-source, and cross-platform runtime environment for JavaScript. It enables developers to build servers, web applications, command-line tools, and scripts, all using JavaScript outside of a browser.
[Step 2]: Run the Installer
- Locate the downloaded .msi file and double-click to run it.
- Follow the prompts in the setup wizard, accept the license agreement, and use the default settings for installation.
[Step 3]: Verify Node.js Installation
Open Command Prompt or PowerShell > Check the installed versions by running these commands:
- Type node -v and press Enter to check the Node.js version.
- Type npm -v and press Enter to check the npm version.
- Both commands should return version numbers, confirming successful installation.

[Step 4]: Create Your First React App (Using Vite)
Vite is a modern build tool that offers lightning-fast startup and optimized development experience for React and other frameworks.
1. Create React App with Vite
Run the following command:
npm create vite@latest my-react-app -- --template reactYou can replace my-react-app with your preferred app name (use lowercase).
2. Install Dependencies
Navigate into your project directory and install required packages:
cd my-react-app
npm install
3. Start the Development Server
Run the development server:
npm run devOpen your browser and go to http://localhost:5173 to view your new React app.
[Step 5]: Create the React App Using CRA Command (Deprecated)
If you're using CRA:
Run the following command to create a React app:
npx create-react-app reactfirstNote:
- The app name must be in lowercase due to npm naming restrictions.
- This command installs all required dependencies and sets up your app.
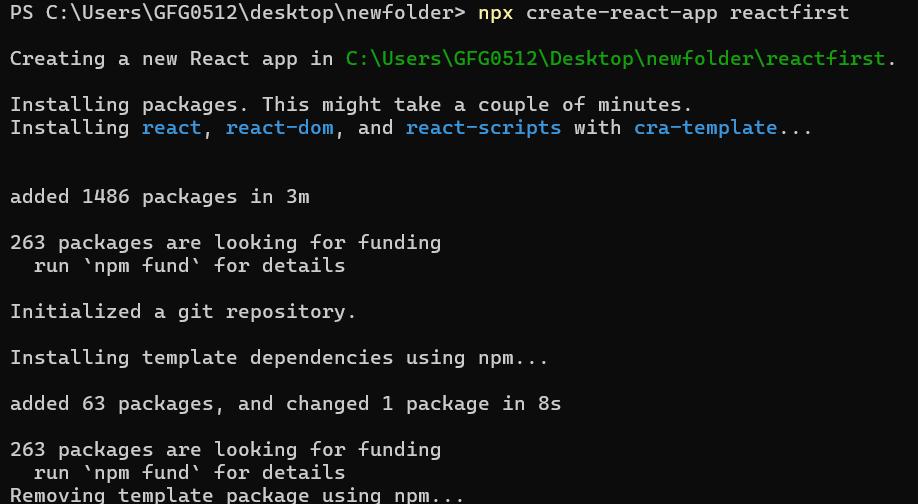
It will take some time to install the required dependencies
Note: Due to npm naming restrictions, names can no longer contain capital letters, thus type your App name in lowercase.

Note: For modern projects, prefer Vite or Next.js for improved performance and ecosystem support.
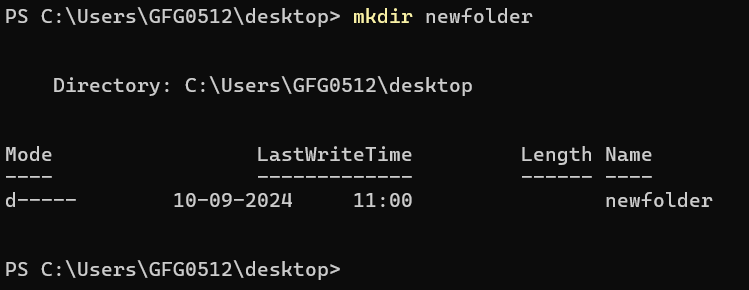
[Step 6]: Create Directory for React Projects
1. Create a New Folder
Create a new folder where you want your React app, use the following command:
mkdir newfolderNote: The newfolder in the above command is the name of the folder and can be anything.
2. Move inside the folder
Move inside the same folder using the below command:
cd newfolder (your folder name)
[Step 7]: Open the Project in a Code Editor
Now open the IDE of your choice for eg. Visual studio code and open the folder where you have installed the react app newfolder (in the above example) inside the folder you will see your app's name reactapp (In our example). Use the terminal and move inside your app name folder.
Use the following command:
cd reactapp (your app name)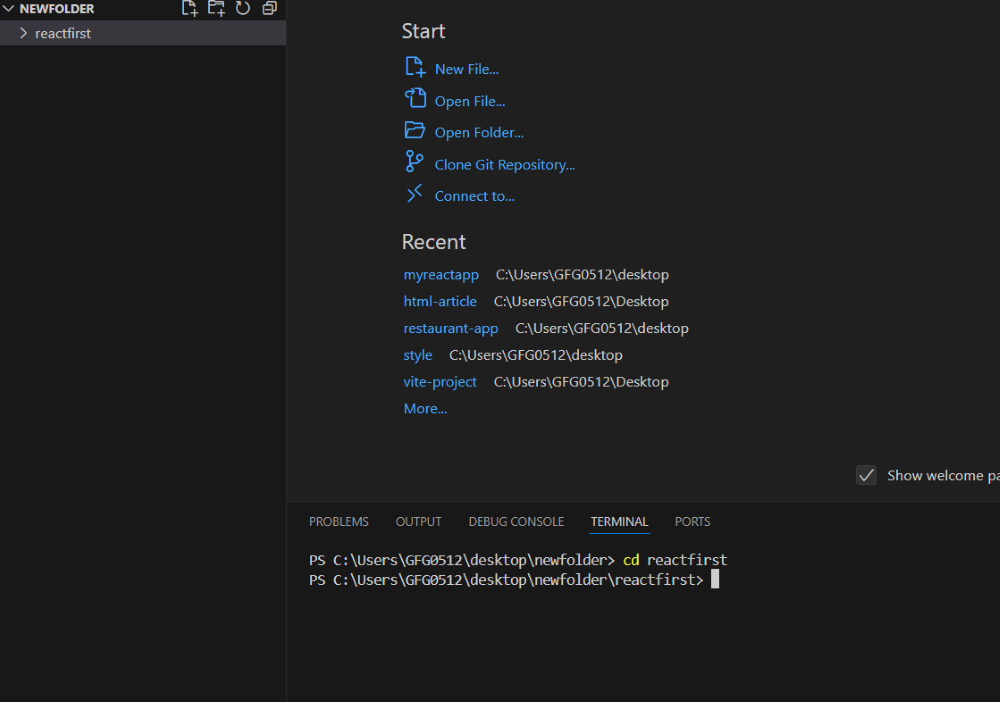
[Step 8]: Run the React App
Start the development server by running:
npm run dev or if you are using CRA then run the folloiwng command
npm start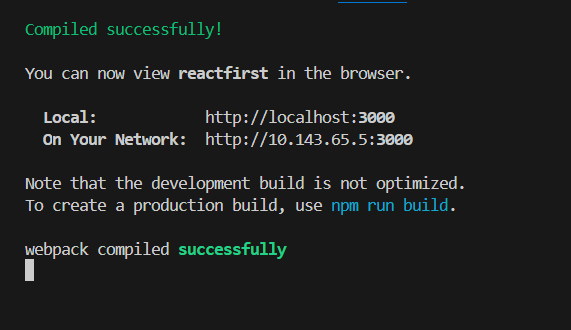
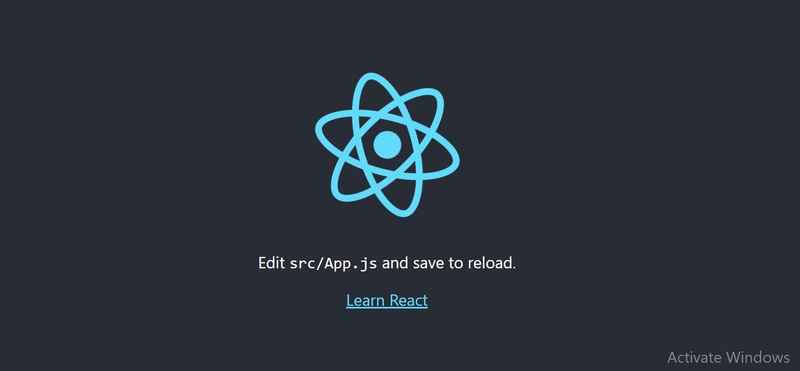
Once you run the above command, a new browser tab will open, displaying the default React page with the React logo.
Congratulation! You have successfully installed the react-app and are ready to build awesome websites and app. Whether you used CRA, Vite, or another tool, you’re now ready to start building dynamic web applications. Explore React’s features like components, state, and props to create amazing projects.
Boost Your React Development Skills with the React JS Course
Take your React development expertise to the next level by enrolling in the React JS Course offered by GeeksforGeeks. This complete course offers installation process, covering essential topics like components, state management, and routing. With hands-on projects and real-world applications, you’ll gain practical experience to confidently build dynamic, high-performance web applications. Equip yourself with the skills needed to excel in modern web development.